Warning
For convenience, we strongly recommend that you deploy Phraseanet with Docker.
On the server, download Phraseanet sources from the download page of Phraseanet.com then unpack the Zip file to the chosen install directory.
For example, this can be done with the following commands:
wget --no-check-certificate https://www.phraseanet.com/builds/alchemy-fr-Phraseanet-v4.0.x.zip
And
unzip alchemy-fr-Phraseanet-v4.0.x.zip
Although it is not mandatory (but highly recommended), verify prerequisites using the following command at the root of Phraseanet install directory:
php bin/setup check:system
This command performs a check of the environment. It lists the points that need to be corrected to install successfully the application.
See also
See the page dedicated to commandline applications Setup and Console
Note
If non packaged sources are used to install Phraseanet (for example those from the GitHub project repository) run the make command from the installation directory.
make
Depending on the used web server, consult the corresponding configuration notes to configure it:
It is necessary to create two databases in order to initialize Phraseanet. These databases are used for:
The database server used can be a local or a remote server.
Note
Depending on your choices, it may be necessary to create a specific MySQL user to exploit the created databases for Phraseanet.
Phraseanet can be installed in two ways:
Or
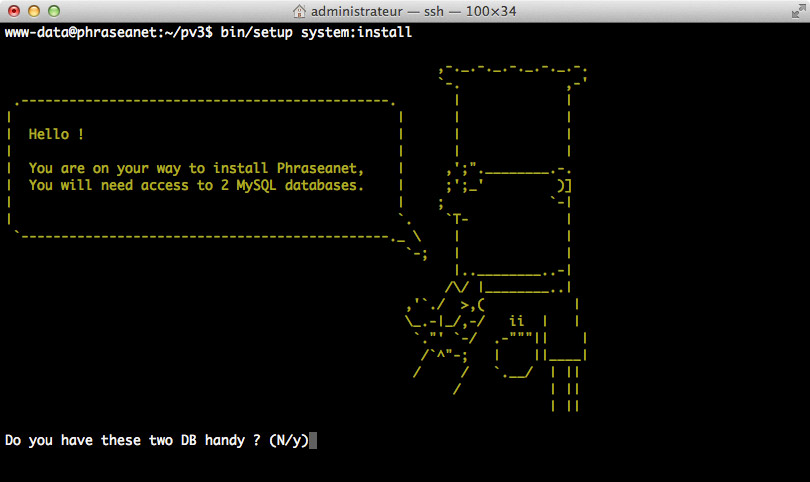
Phraseanet features a built in setup system command-line.
Run the following command at the root of Phraseanet install directory:
bin/setup system:install
| Name | Comment | Default value |
|---|---|---|
| download-path | used for store and serve exported zip file | /var/alchemy/Phraseanet/datas/download |
| lazaret-path | used for store and serve lazaret file | /var/alchemy/Phraseanet/datas/lazaret |
| caption-path | used for caching record description, display in production GUI | /var/alchemy/Phraseanet/tmp/caption |
| worker-path | used by worker for build proxy files | /var/alchemy/Phraseanet/tmp |
Install option example:
bin/setup system:install --download-path=/var/my_download_folder
Note
Some options can be used for storage distribution:
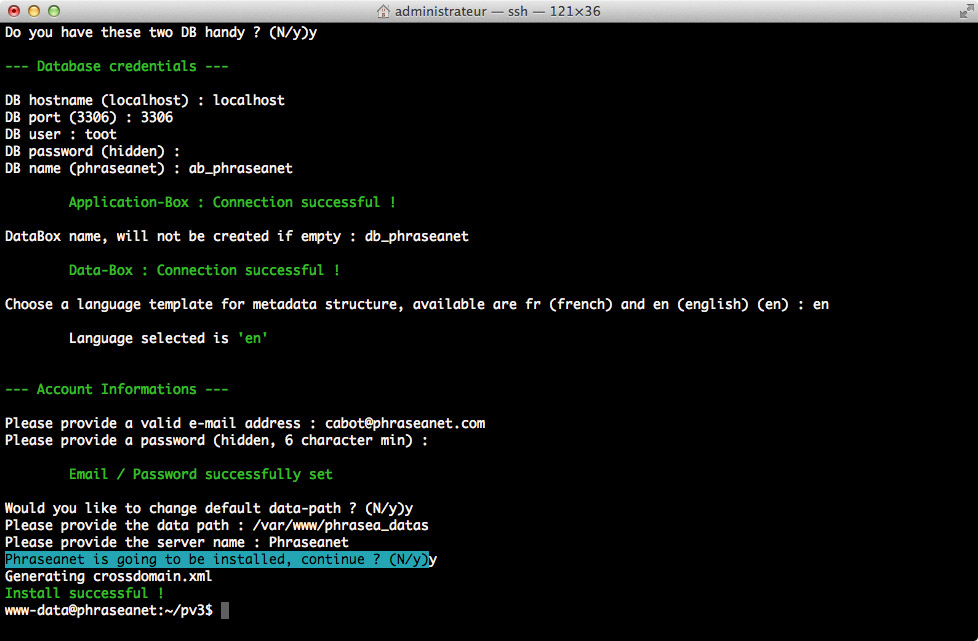
The installation process starts.
Note
Please note that the provided email address is used as the account identifier.
Note
Provide an URL for the Phraseanet instance server
Start the installation process and wait until the Install successful message
Note
The build-in sample configuration fills parameters for a local Elasticsearch server using port 9200.
If necessary, edit the configuration file config/configuration.yml then compile the modified configuration.
Please, have a look to the Configuration page for more info.
bin/console s:i:c
bin/console task-manager:task:list
bin/console task-manager:scheduler:run -vvv
Phraseanet is now operational.
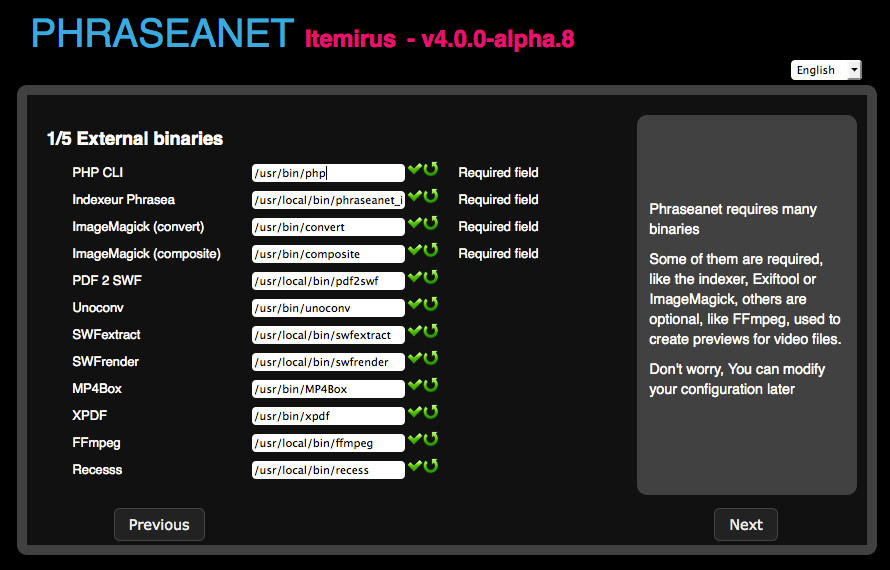
For a GUI installation, launch a browser and go to the root URL of the application. User is redirected to /setup/installer/ page.
A set of screens containing forms helps to configure Phraseaent by collecting information related to binaries and storage paths, admin account or databases connection parameters.
Click on the Next button to start the procedure.
Check and modify if required banaries and execs paths then follow
Create an Administrator account for Phraseanet then follow
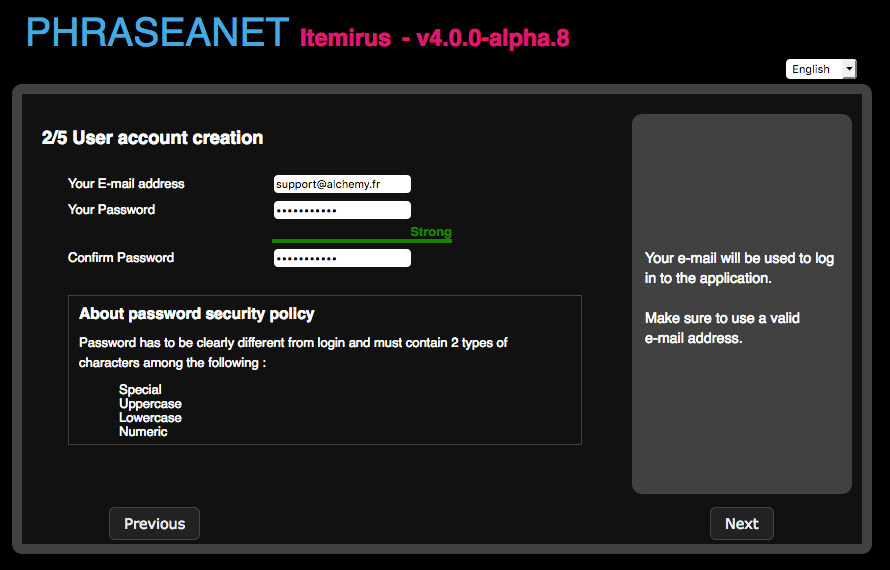
Note
The entered email address is used as the administrator account login.
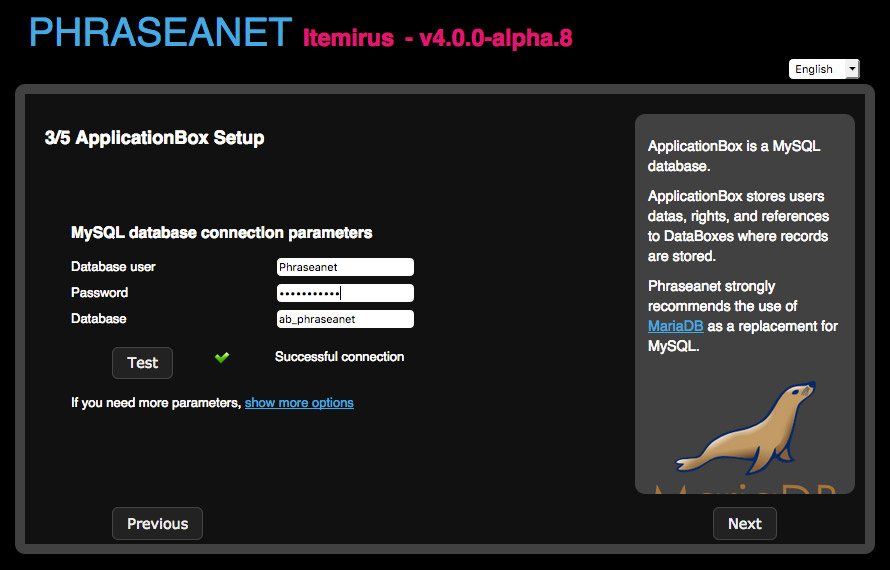
Enter parameters for connection to the database dedicate to the Application box then follow
Provide a storage path for documents then follow
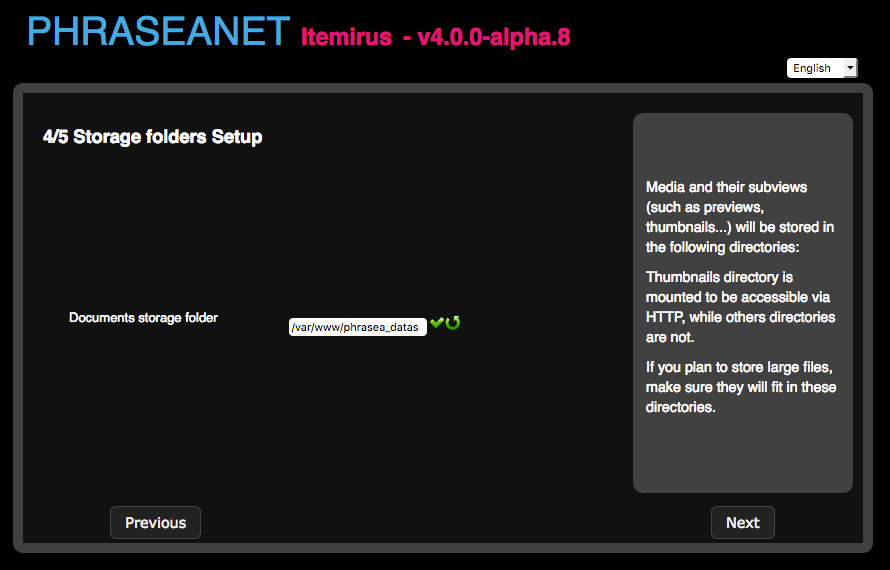
Note
The directory must exist and Phraseanet must be able to read and write in it.
Enter the name of the database for the Phraseanet Data box
Select the language to use for the initial documentaries fields (en for english, fr for french)
The installation program creates the necessary tasks to run the application. Leave the checkboxes checked.
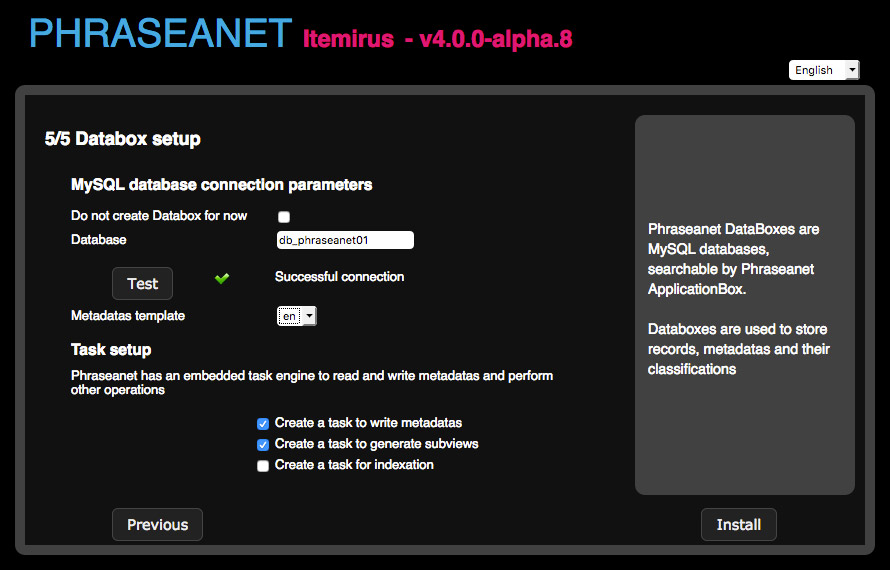
Click on the Install button to start the installation script.
At the end of the process the user is leaded to the authentication page.
Login to Phraseanet with the account set previously to perform some post-installation settings.
In Phraseanet Admin, click on Search engine parameters item
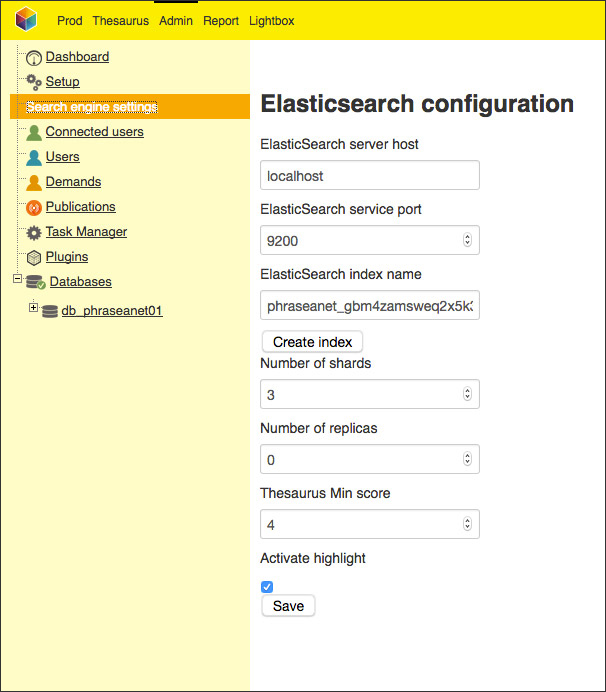
Adjust Elasticsearch setting according to context.
Create Elasticsearch index using the dedicated button.
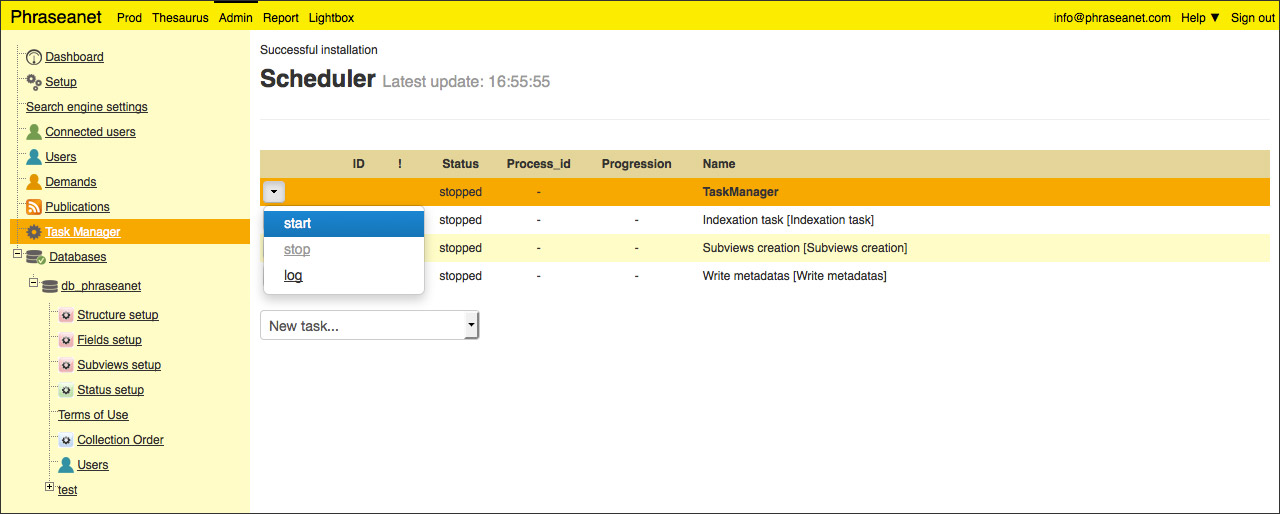
Starting tasks manager.. is now required.
Tasks start can be done in the Task manager section in the Admin module of Phraseanet.
If the GUI install mode leads to this section after performing the whole setup, user performing the installation in command-line must login from the homepage of the application:
To start tasks, click on the Start item in the contextual menu of Scheduler.
Note
Alternative method consists in using the bin/console commandline tool detailled here.
Congrats! Your install is finished!
To start using Phraseanet it is necessary to have at least one collection. Both set up procedures create a Phraseanet collection named test that can be used for tries.
Documentaries fields and subviews parameters can be adjusted to suit the needs of the project and documents can be added via Phraseanet Upload.
See also
See the pages about Phraseanet bases and collections administration and about documents upload in the user manual.